Homemade pizza lunchables provide a nutritious, cost-effective alternative to store-bought kits by using fresh ingredients you control. This DIY approach ensures children enjoy a fun, customizable meal while avoiding processed preservatives or hidden sugars often found in mass-produced options. Planning these ahead simplifies the school week while maintaining high standards for health, flavor, and appetite satisfaction for students of all ages.
| Prep Time | Cook Time | Total Time | Servings | Difficulty | Cuisine |
|---|---|---|---|---|---|
| 15 mins | 10 mins | 25 mins | 4 | Easy | Italian Fusion |
Why This Recipe Delivers Results
This recipe focuses on quality control by sourcing fresh dough, organic tomato sauce, and real mozzarella. By preparing these components in advance, you eliminate the need for last-minute meal prep while providing a snack-style lunch that remains engaging and delicious for kids.
Using homemade elements allows you to infuse extra nutrition through hidden vegetables in the sauce or by choosing whole-wheat crust options. Each component is designed for optimal portability, ensuring the texture remains perfect until the lunch bell rings at school.
Ingredients Breakdown
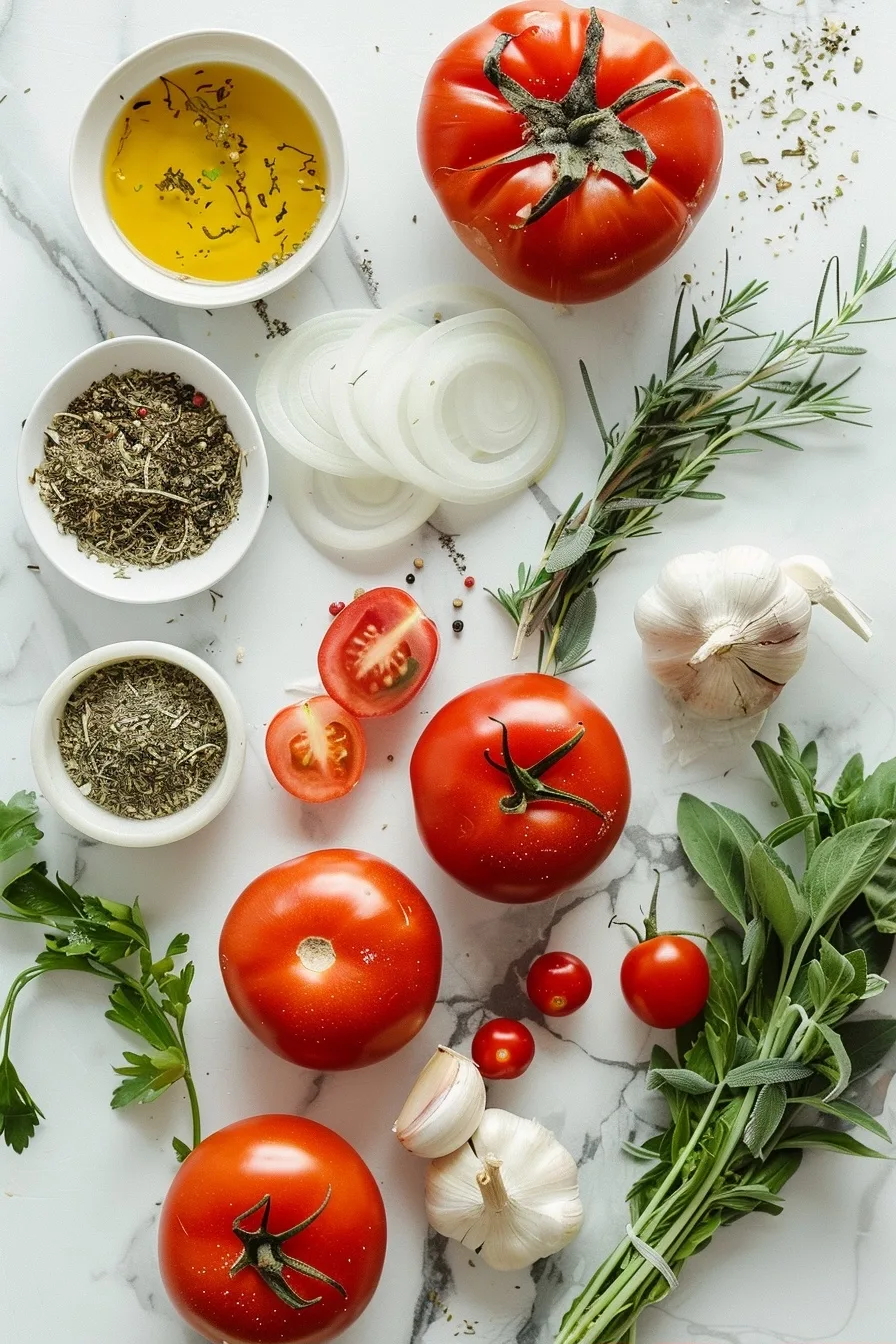
| Ingredient | Quantity | Notes or Swaps |
|---|---|---|
| Pizza Dough | 1 lb | Use whole wheat or gluten-free store-bought dough |
| Olive Oil | 2 tbsp | Extra virgin preferred for better flavor profile |
| Garlic | 2 cloves | Minced finely for infusion |
| Onions | 1 small | Finely diced for sweetness |
| Tomato Sauce | 1 cup | Look for low-sodium or sugar-free varieties |
| Vegetables | 1 cup | Bell peppers, spinach, or mushrooms, finely chopped |
| Herbs/Spices | 1 tbsp | Dried oregano, basil, and red pepper flakes |
| Mozzarella Cheese | 2 cups | Freshly shredded is best for melting |
Step-by-Step Method
Preparing the Pizza Components
- Preheat the oven to 400 degrees Fahrenheit and line a baking sheet with parchment paper.
- Sauté the diced onions and minced garlic in olive oil until soft and translucent but not browned.
- Add the tomato sauce, dried herbs, and spices to the pan, simmering for five minutes to develop consistent flavor.
- Roll out the pizza dough thinly on a floured surface to ensure a crispy final cracker-like texture.
- Use a round cookie cutter or a clean, small lid to cut the dough into uniform lunchable-sized discs.
- Place the discs on the baking sheet and prick each one lightly with a fork to prevent excessive bubbling.
- Bake for 8 to 10 minutes until golden brown and firm to the touch.
- Allow the miniature crusts to cool completely on a wire rack before starting the assembly process.
Assembling the Kits
- Divide the tomato sauce into small, airtight containers suitable for a lunch box side compartment.
- Portion the shredded mozzarella cheese into separate small bags or containers to prevent moisture transfer.
- Add sautéed vegetables or extra toppings like pepperoni-style turkey slices into a final container.
- Store all elements in the refrigerator until you are ready to pack the lunch boxes for the morning.
Practical Tips for Best Outcome
- Cool the crusts entirely before packing to prevent condensation from making the dough soggy.
- Use small silicone muffin liners to separate toppings inside the container for a neat, appealing look.
- Opt for parchment paper between individual crusts if stacking them to maintain their shape.
- Prepare a large batch of the sauce during the weekend and freeze into individual portions for ease.
- Encourage kids to assemble their own pizzas to help build food confidence and eating independence.
Mistakes to Watch For
- Over-saucing: Adding too much sauce makes the crust soggy; provide just enough for a thin layer.
- Hot packing: Never pack warm dough, as the resulting steam will destroy the texture of the bread.
- Low-quality cheese: Pre-shredded cheese often contains anti-caking agents that hinder proper melting and texture.
- Excessive toppings: Keep toppings small and finely diced so they fit perfectly onto the mini crusts.
Substitutions and Variations
| Ingredient | Alternative | Effect on result |
|---|---|---|
| Tomato Sauce | Pesto or Hummus | Provides a brighter, herbaceous flavor profile |
| Mozzarella | Provolone or Feta | Adds sharpness and a different salt balance |
| Wheat Flour | Chickpea Flour | Boosts protein and creates a gluten-free base |
Serving Ideas and Pairings
Pair these lunchables with raw carrot sticks and cucumber rounds to ensure a balanced meal. A side of fresh berries or sliced apples adds natural sweetness. These kits are perfect for hiking, road trips, or any occasion where a portable, fun meal is required. For more healthy school lunch ideas, consider adding a protein-rich dip like black bean spread. Explore kid-friendly recipes for more inspiration on maintaining nutritional balance throughout the week.
Storage and Reheating Guide
| Method | Duration | Instructions |
|---|---|---|
| Refrigerator | 3-4 Days | Keep in airtight containers to maintain freshness |
| Freezer | 1 Month | Freeze individually wrapped crusts and sauce portions |
Nutrition Overview
| Nutrient | Amount per Serving |
|---|---|
| Calories | 320 kcal |
| Protein | 12g |
| Fat | 9g |
| Carbohydrates | 48g |
| Fiber | 4g |
Note: These are Approximate values based on standard preparation methods.
Common Questions
Can I make these crusts gluten-free?
Yes, you can easily swap the standard dough for a high-quality gluten-free flour blend or pre-made cauliflower crust. Adjust baking time as needed according to the specific packaging instructions for your chosen alternative.
How do I stop the cheese from sticking together?
Tossing your shredded cheese with a tiny amount of cornstarch or arrowroot powder helps keep the pieces separated. Alternatively, using small vacuum-sealed snack bags minimizes air exposure and clumping.
Can the sauce be served cold?
Absolutely, the tomato sauce is designed to be a room-temperature or cold spread for the lunchables. The flavor profile remains consistent, and it actually tastes quite fresh when paired with cold toppings.
What if my child wants more protein?
You can easily add turkey breast, chickpeas, or roasted chicken cubes as an extra component in the lunchbox. These additions complement the pizza aesthetic while ensuring kids stay full throughout their school activities.
Are these suitable for meal prepping a full week?
These lunchables hold up well in the refrigerator for up to four days if ingredients are kept separate and dry. Simply assemble the components on Sunday night, and your nutritious grab-and-go meals are ready for the upcoming week.
Creating homemade pizza lunchables offers a clear path toward healthier eating habits without sacrificing the fun factor. By utilizing simple, fresh ingredients and following these storage guidelines, you provide a reliable, delicious, and energy-dense meal for any daily need. Start your transition to DIY lunch kits today to see how easy and rewarding this process can be for your family.
Print
Homemade Pizza Lunchables
- Total Time: 25
- Yield: 4 servings 1x
- Diet: Vegetarian
Description
These homemade pizza lunchables offer a nutritious, cost-effective, and highly customizable alternative to processed store-bought meal kits. By using fresh dough, organic sauce, and real mozzarella, you provide a clean-label lunch that children love. This DIY approach eliminates hidden preservatives and excess sugars, allowing you to incorporate extra nutrition through finely chopped vegetables. Perfectly portable and delicious, these mini pizzas make school lunch meal prep simple, satisfying, and healthier for students of all ages.
Ingredients
1 lb Pizza Dough (whole wheat or gluten-free)
2 tbsp Olive Oil
2 cloves Garlic, minced
1 small Onion, finely diced
1 cup Tomato Sauce (low-sodium/sugar-free)
1 cup Vegetables (finely chopped bell peppers, spinach, or mushrooms)
1 tbsp Mixed Herbs (oregano, basil) and red pepper flakes
2 cups Mozzarella Cheese, freshly shredded
Instructions
Preheat your oven to 400 degrees Fahrenheit and line a baking sheet with parchment paper.
Sauté the diced onions and minced garlic in olive oil until they are soft and translucent.
Add the tomato sauce, dried herbs, and spices to the pan, then simmer for five minutes to develop a rich flavor profile.
Roll out the pizza dough thinly on a floured surface to achieve a crispy texture.
Use a round cookie cutter or a small lid to cut the dough into uniform lunchable-sized discs.
Place the dough discs onto the prepared baking sheet and prick each one lightly with a fork to prevent bubbling.
Bake for 8 to 10 minutes until the crusts are golden brown and firm.
Allow the crusts to cool completely before packing with a side of sauce and shredded cheese for lunch.
Notes
Store the cooled crusts, sauce, and cheese in separate airtight containers in the refrigerator to keep them fresh until packing. The crusts can also be frozen for up to a month. To add more nutrition, blend the sautéed vegetables into the tomato sauce so they are hidden for picky eaters.
- Prep Time: 15
- Cook Time: 10
- Category: Dinner
- Method: Baking
- Cuisine: Italian Fusion
Nutrition
- Serving Size: 1 serving (approx. 3-4 mini pizzas)
- Calories: 320
- Sugar: 3g
- Sodium: 450mg
- Fat: 12g
- Saturated Fat: 5g
- Carbohydrates: 40g
- Fiber: 3g
- Protein: 14g
- Cholesterol: 30mg